
NVMe over RDMA 环境部署记录。
前提虚拟机环境要求:
1. Ubuntu 22.04
2. Ubuntu 虚拟机的磁盘配置为NVMe
3. clone 为两份虚拟机,一份为Host端,一份为Target端
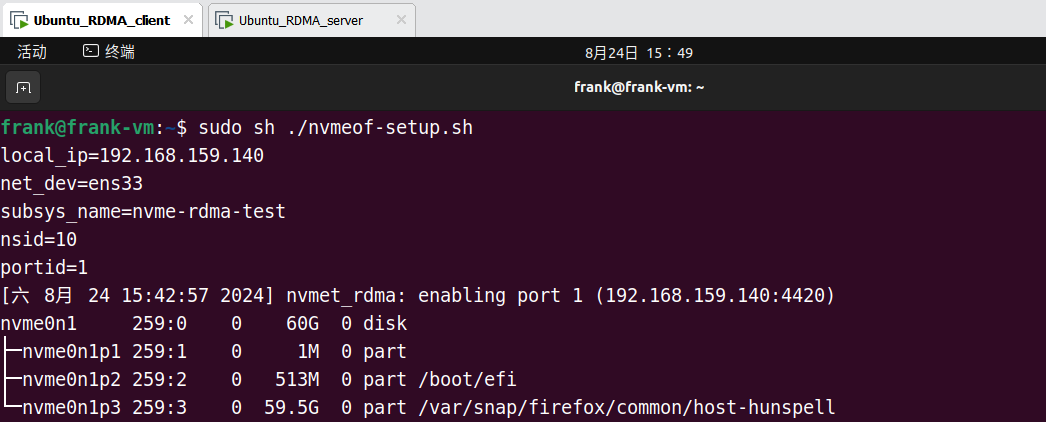
1. 自动部署软件栈 sh 脚本
以 root 权限运行:
1 | sudo sh ./rdma-setup.sh |
1 | # rdma-setup.sh |
运行结果:
2. 手动部署——RDMA
2.1. 确认内核是否支持
1 | cat /boot/config-$(uname -r) | grep RXE |
2.2. 安装环境依赖、工具
1 | apt-get install vim open-vm-tools open-vm-tools-desktop net-tools nvme-cli fio |
2.3. 获取 IP 地址、NIC 设备名
1 | ifconfig -a |
2.4. 配置 RXE 网卡
1 | # 加载内核驱动 |
2.5. RDMA 配置结果检验
1 | rdma link |
3. 手动部署——NVMe
3.1. 加载 NVMe 相关内核
1 | modprobe nvmet |
3.2. 配置 nvme subsystem
1 | # subsys_name 可替换 |
3.3. Allow any host to be connected to this target
1 | echo 1 > attr_allow_any_host |
3.4. Create a namespace,example: nsid=10
1 | # nsid 可替换 |
3.5. Set the path to the NVMe device
1 | echo -n /dev/nvme0n1> device_path |
3.6. Create the following directory with an NVMe port
1 | # portid 可替换 |
3.7. Set ip address to traddr
1 | # local_ip 为 ifconfig 中的结果 |
3.8. Set rdma as a transport type,addr_trsvcid is unique
1 | echo rdma > addr_trtype |
3.9. Set ipv4 as the Address family
1 | echo ipv4 > addr_adrfam |
3.10. create a soft link
1 | # subsys_name、portid 可替换 |
3.11. Check dmesg to make sure that the NVMe target is listening on the port
1 | dmesg -T | grep "enabling port" |
3.12. Check the status of NVMe
1 | lsblk | grep nvme |
4. NVMe over RDMA 环境验证
虚拟机重启后需要重新配置 RDMA 部分
Host 端执行:
1 | ib_send_bw -d rxe_0 |
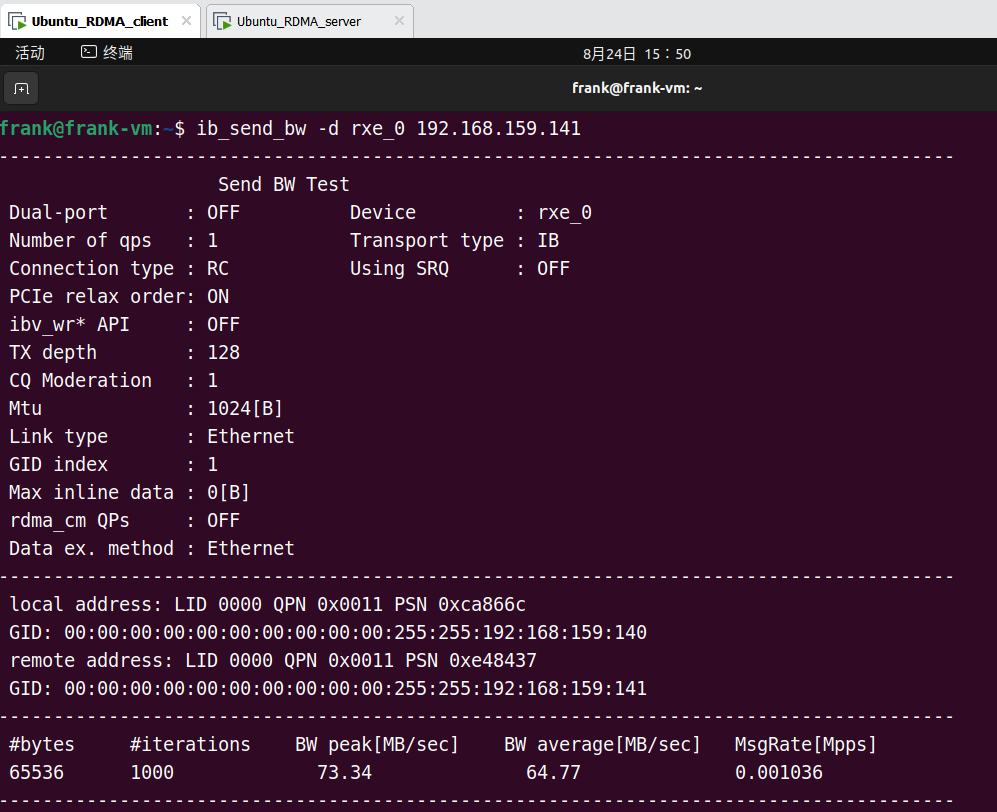
Target 端执行:
1 | ib_send_bw -d rxe_0 <server_ip> |
Target 端执行后,两端的运行输出如下:
Host 端:
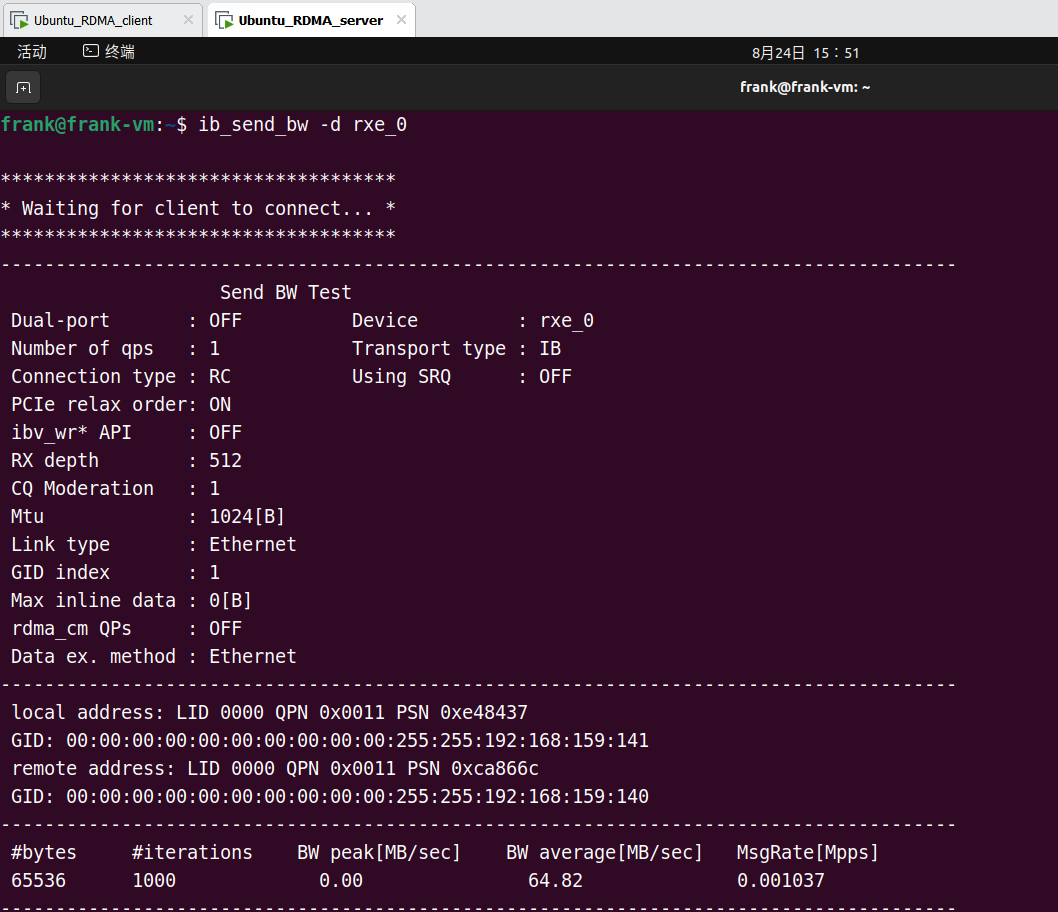
Target 端:
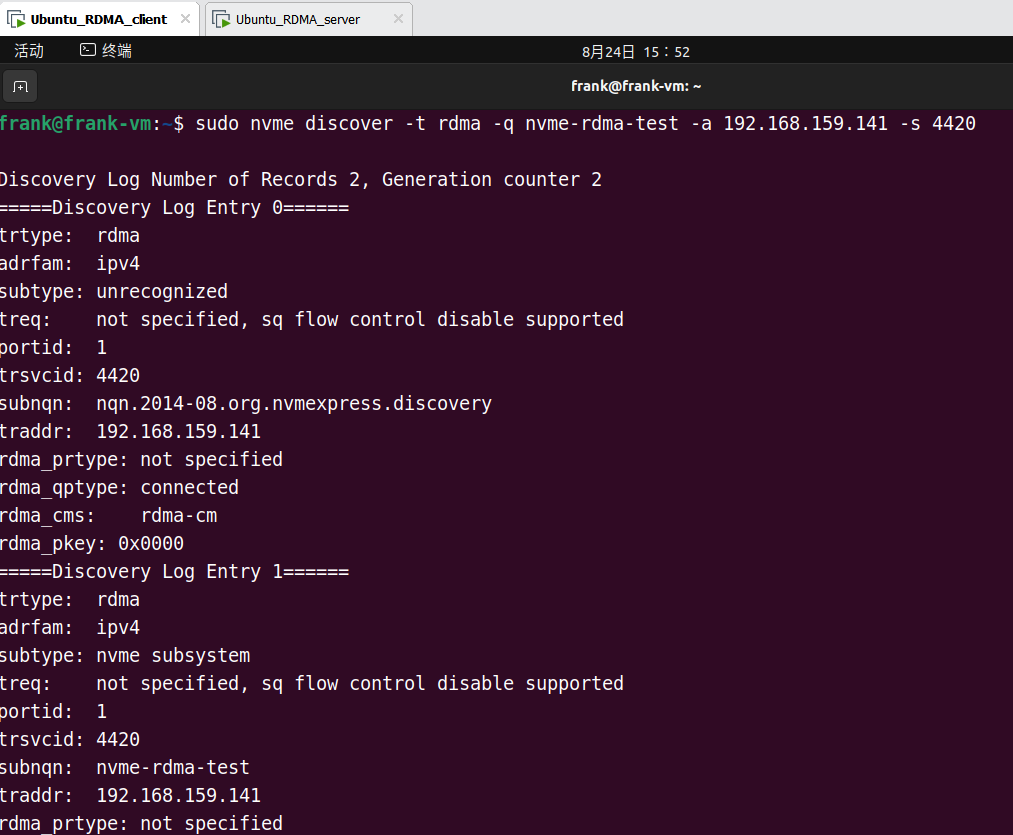
在 Target 端发现 Host 端的 NVMe 设备:
1 | sudo nvme discover -t rdma -q <subsys_name> -a <server_ip> -s 4420 |
结果:
在 Target 端连接 Host 端的 NVMe 设备:
1 | sudo nvme connect -t rdma -q <subsys_name> -n <subsys_name> -a <server_ip> -s 4420 |
结果:
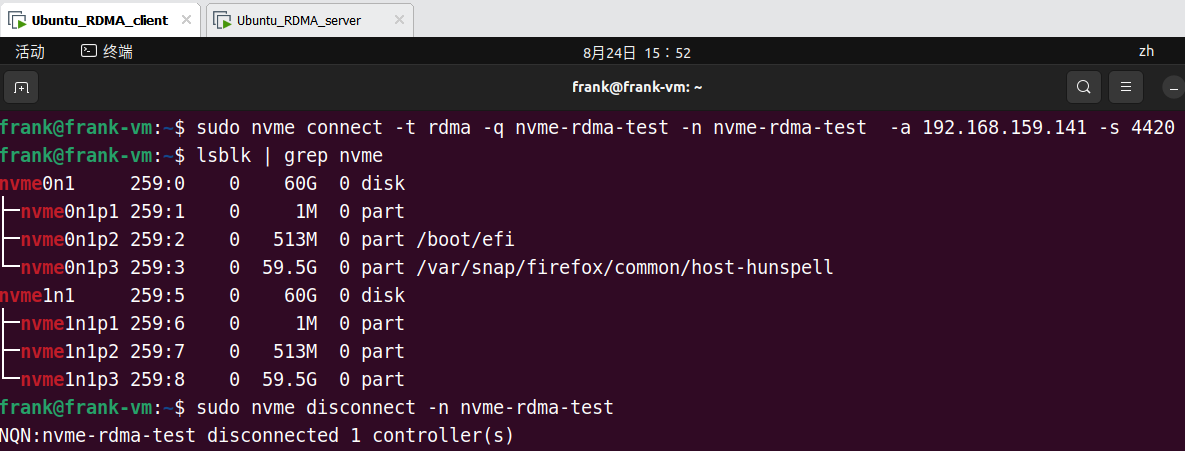
断开连接:
1 | sudo nvme disconnect -n <subsys_name> |